- Open Adobe Photoshop and start a new canvas
- Open the Images that will serve as your guide and will serve as your starting images (Save the images at the top of this tutorial)
- Fill the background of your canvas with the color that is appropriate with your image (Use the finish product at the end to be your guide)
- Select the spoons using the marquee tool
- Place it on a certain part of the canvas and use the magic wand for the excess part
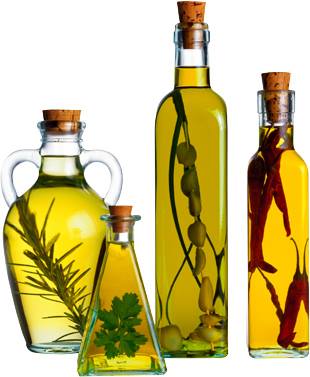
- Do the same steps in selecting the other images (e.g. Pans and Bottles)
- Use the text tool to add text on the canvas
- For the bottles, use the magic want to selct excess parts such as white space, you will encounter problems like how the handle also been selected by the Magic Wand tool
- The Burn tool is for the handles of the wine so that it wont be altered then continue on using the magic want to select the white space
- For the unpleasant edges and small white space use the magnetic lasso tool
- Arrange the layers, and finally
- Save as ".psd" if you want to continue your work and ".jpeg" for finished project
|

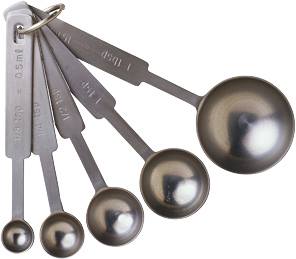
 ^These will be like THIS v
 Using tools in photoshop..